| MGF Cars: Left Hand Drive (LHD) Conversion #3 |
As a result of informal customer focus groups and notwithstanding the discriminatory & highly prejudicial attitudes of various government agencies and insurance cartels across Canada towards right hand drive (RHD) vehicles, we have decided to make our left hand drive (LHD) conversion programme for the MGF a high priority.
Fortunately, and somewhat surprisingly since export to North America was apparently ruled out relatively early in the project, MG Rover designed the MGF so that variances in drive side would require minimal component changes compared to most other cars.
Clearly, the dashboard and steering rack will require replacement, but there are also implications for the pedal box, windscreen wipers and last but not least the wiring harness.
The location of some components such as the handbrake lever remain the same regardless of drive side, but the brake master cylinder & booster are on the opposite side of the steering wheel. We have recently learned this was done for crash protection purposes.
For a perfect conversion down to the last detail one must not forget items such as the keyhole in the former passenger side outer door handle and the wear pad on the drivers side carpet! |
|
 |
Prior to starting the conversion we got rid of the shift lock device and replaced the butchered console surround. |
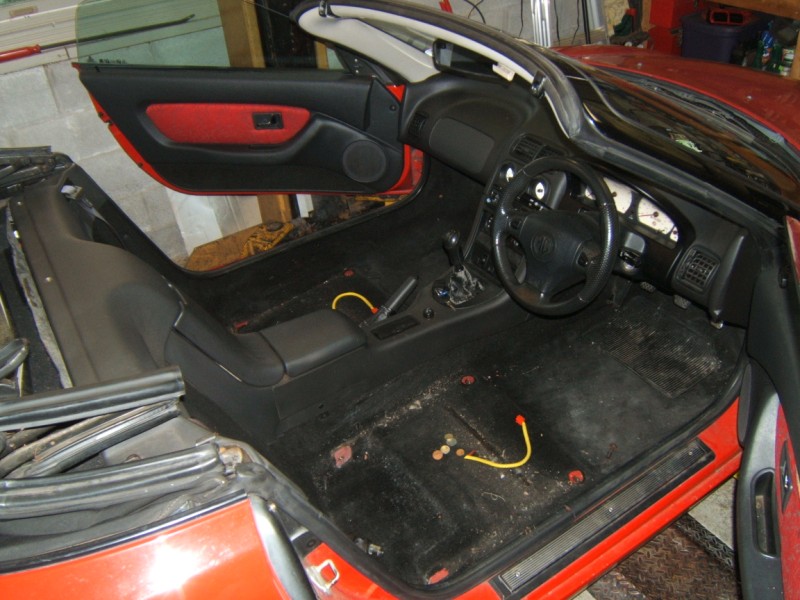 |
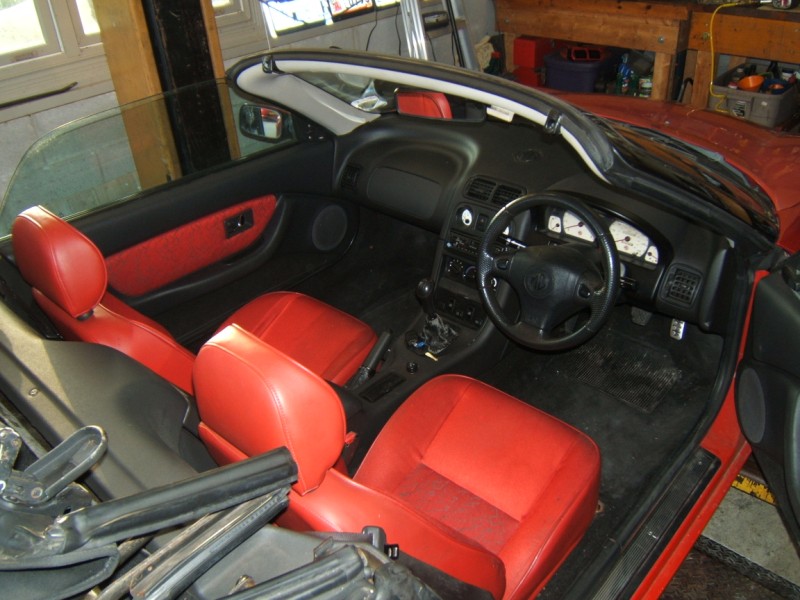
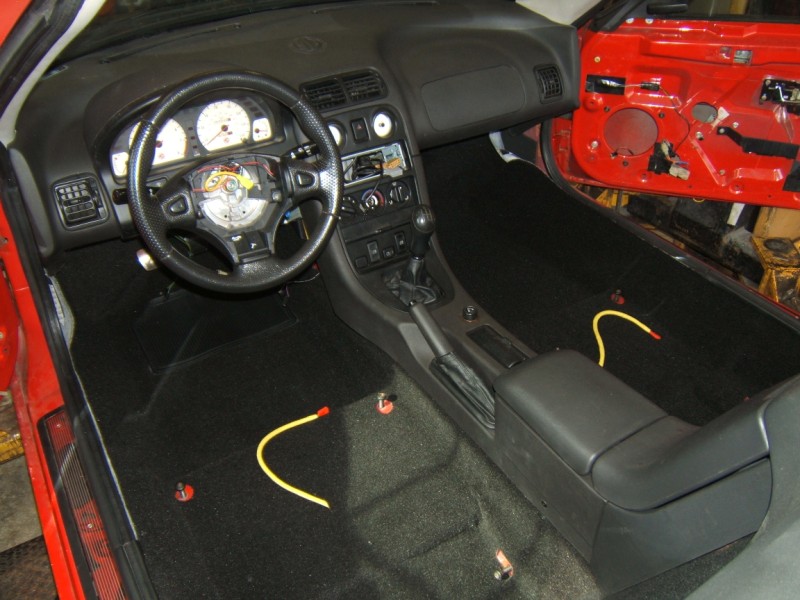
Removing the seats is the first step. Finding ú1.63 under them was a nice bonus! |
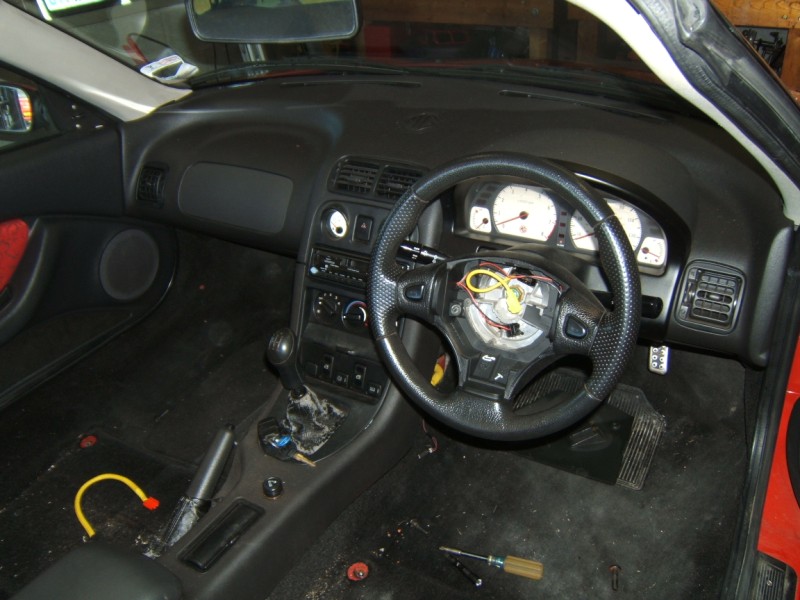 |
The drivers airbag is next making sure that the battery had been totally isolated for at least thirty minutes. We shall also replace the shifter & handbrake boots in the course of the conversion. |
 |
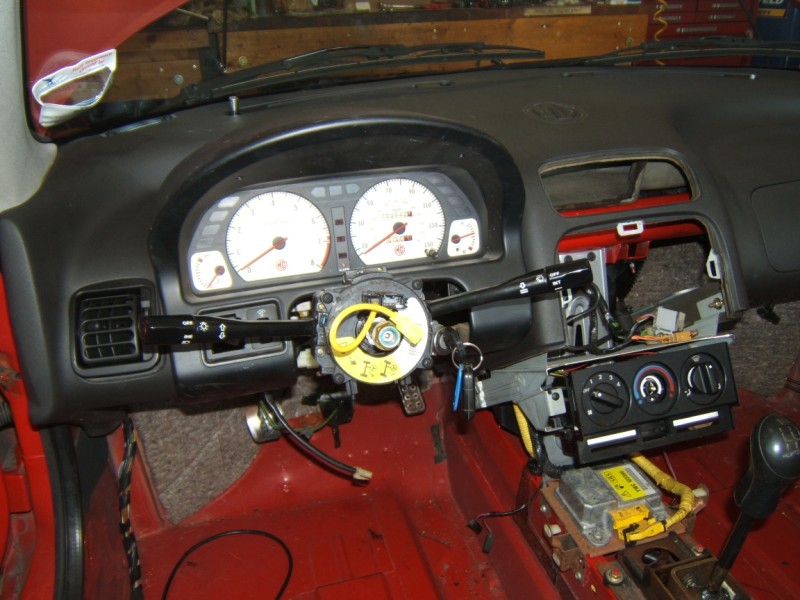
The steering wheel and column clamshells (nacelles) are next. |
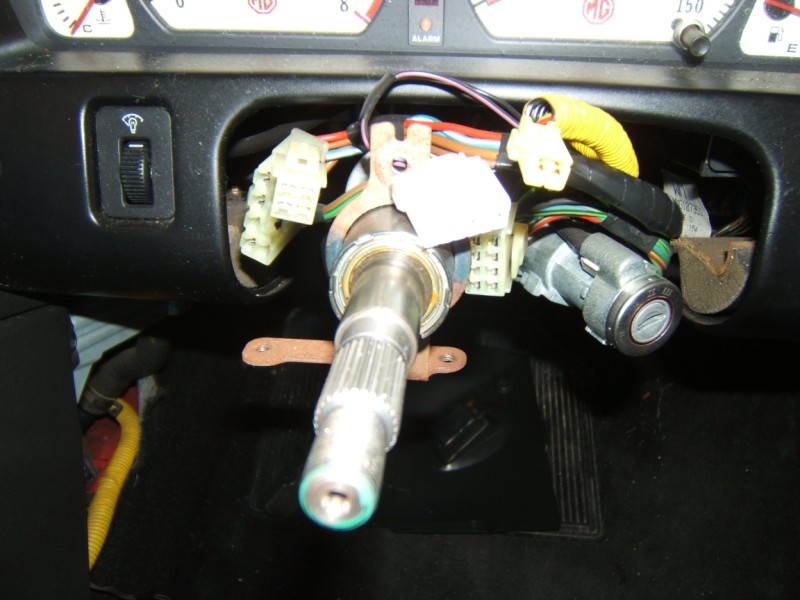 |
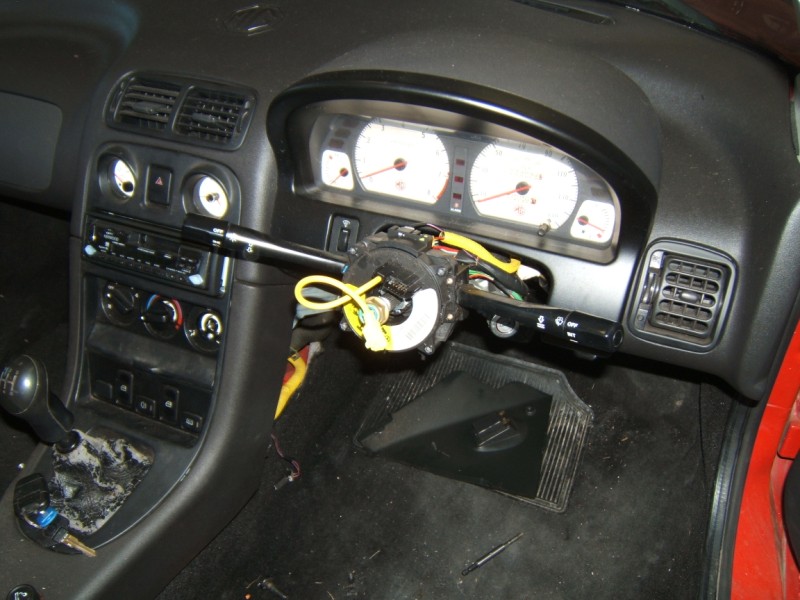
Followed by the cassette reel (clock spring) and column switches. Make sure not to rotate the clock spring too far & closeups such as this are useful to route wiring correctly later. |
 |
The instrument surround is then removed along with the instrument pack. Releasing the speedo cable is much easier on RHD cars than LHD although the latter is made easier if the centre vent is removed. |
 |
A good view of the binnacle clips that always break. They are intact on the LHD fascia but we are getting a tooling quote to have this part reproduced. |
 |
Removal of the centre console bezel is done by first removing the radio, then working slowly up from the bottom. This too is a part that we could have reproduced if there is enough demand once supplies of used ones dry up. |
 |
Removal of the rearward centre console is next. Some silicone spray was needed to get the handbrake gauntlet off. |
 |
Just the glovebox and climate control panel need to be removed before... |
 |
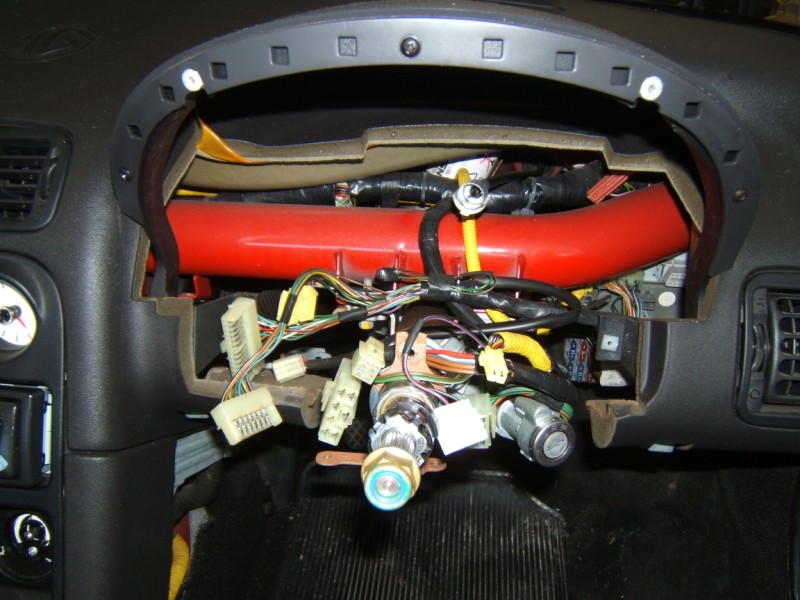
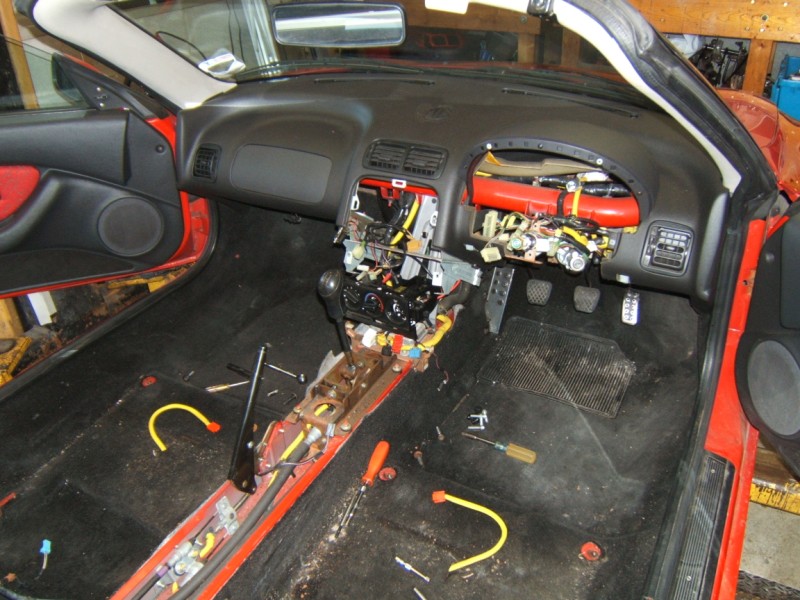
... the four bolts & four nuts that secure the fascia. Even with the aid of the 2p coin to loosen the caps in the top of the dash a 1/8 turn the tabs on them still tend to break. Perhaps another project for our molding firm in the future? |
 |
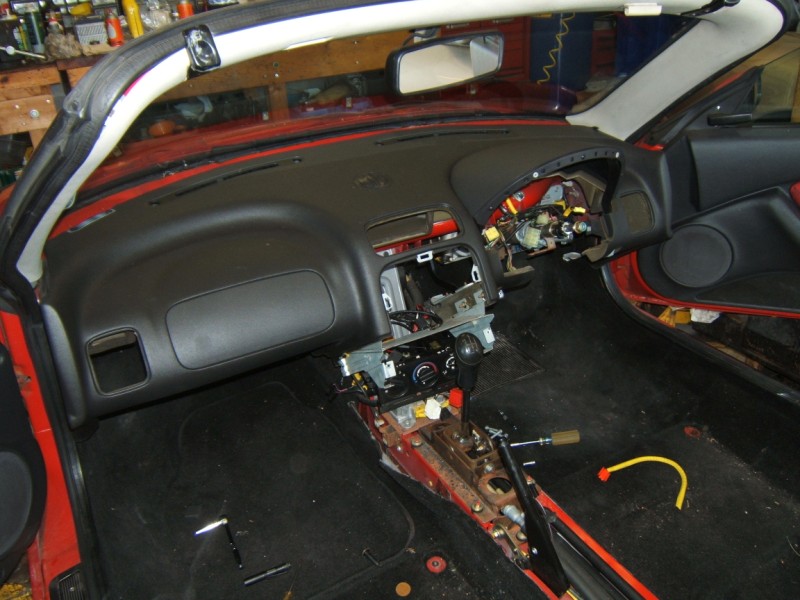
Once the dash is out, one can go ahead and remove the door trims along with the header plus right A pillar trims. |
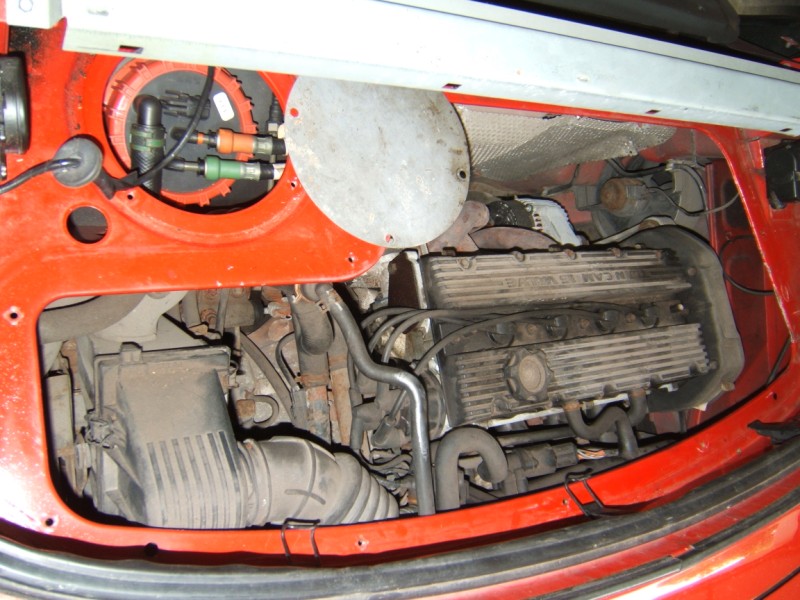 |
Strangely for such a big job about the only reason the engine access cover needs removing is to disconnect the engine fan plug seen in the top right of the photo! |
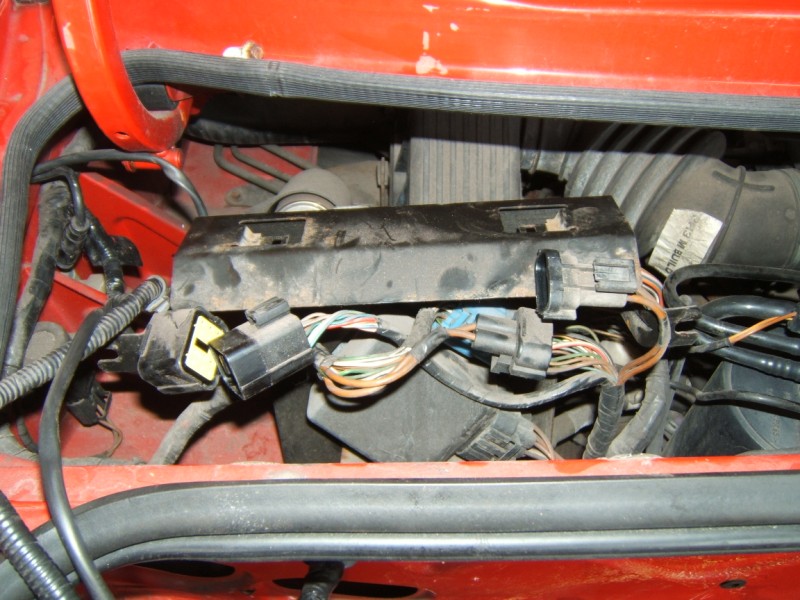 |
The job of changing the wiring harness is made much easier by the interface with the engine harness at the engine control unit. |
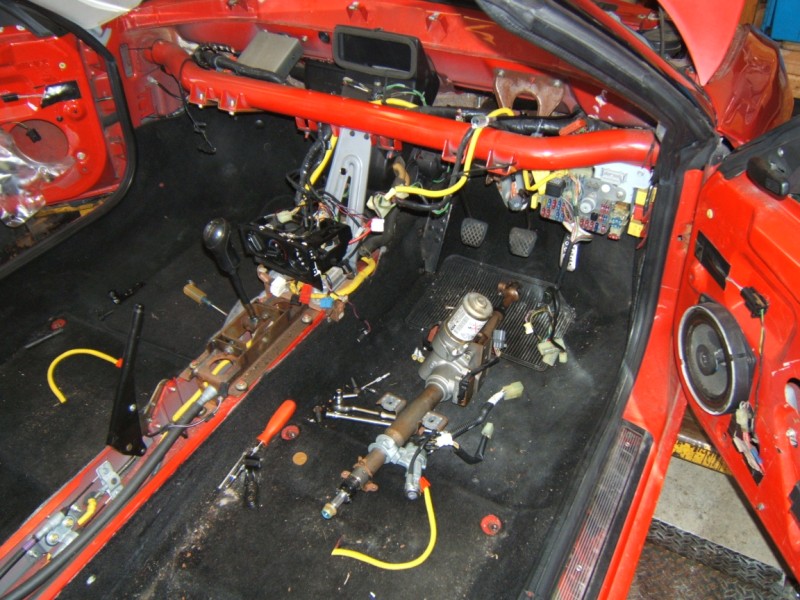 |
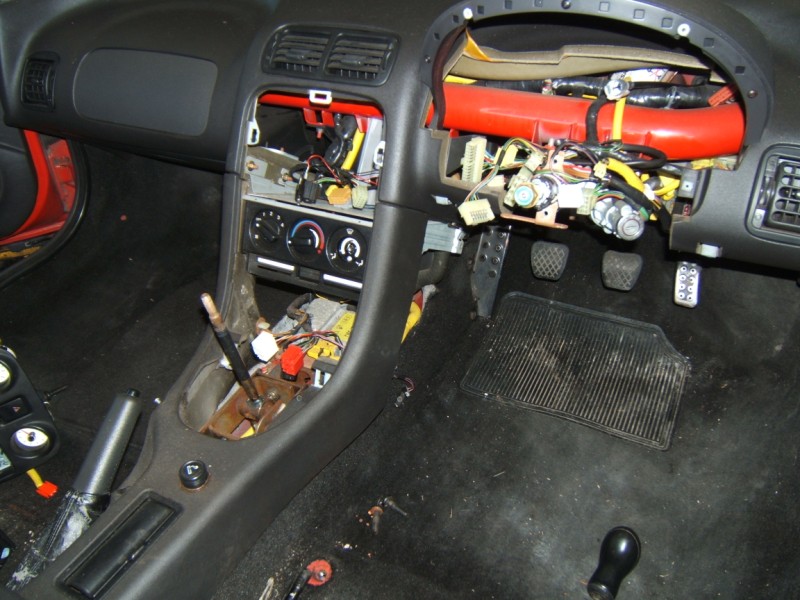
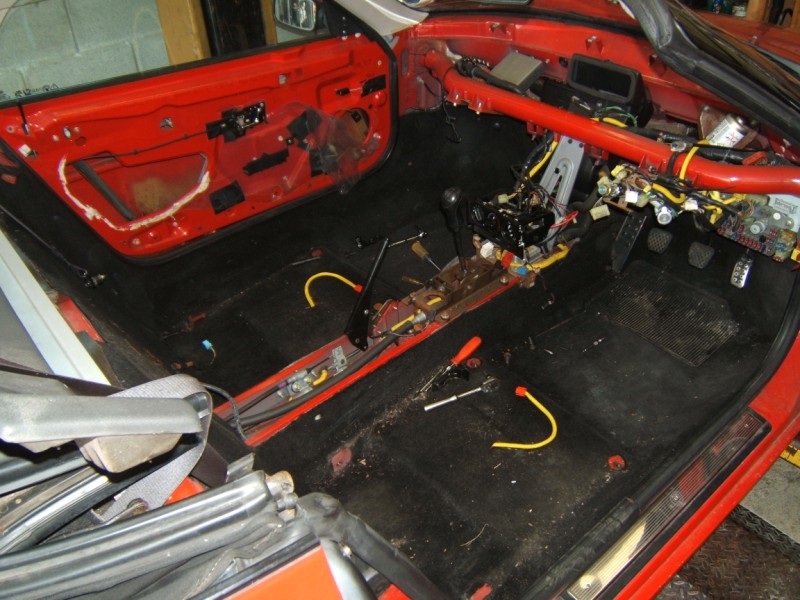
Back inside the car, removal of the steering column is next. As stated in the manual, never let it hang on the mounts just below the ignition switch as these influence crash safety. |
 |
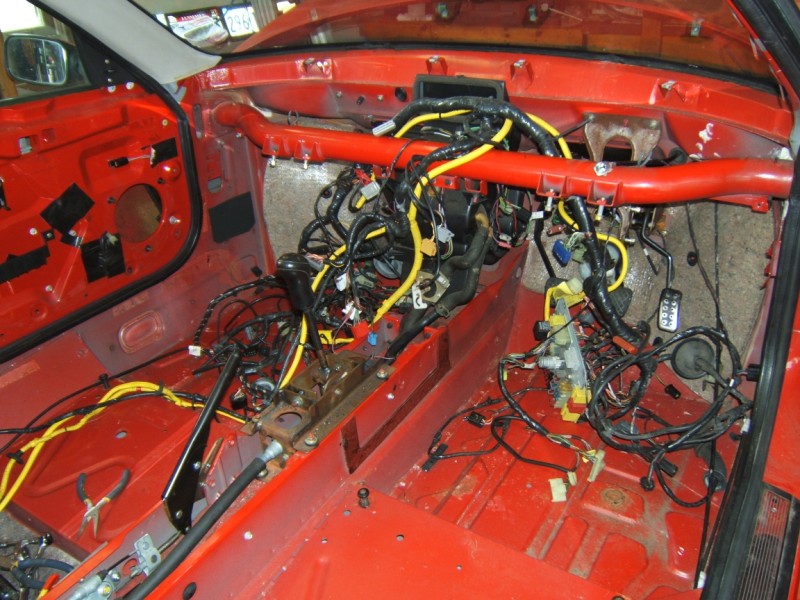
In the front compartment everything is disconnected ready for harness removal. To get at the courtesy light wiring required removal of the wiper arms at this stage also. |
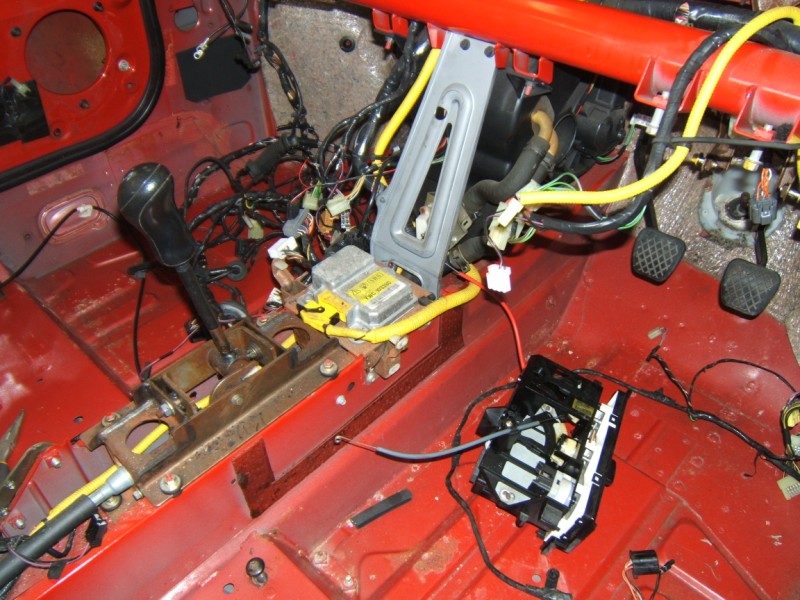 |
Before the harness can be removed, the heater controls followed by ... |
 |
... the SRS module must be removed. |
 |
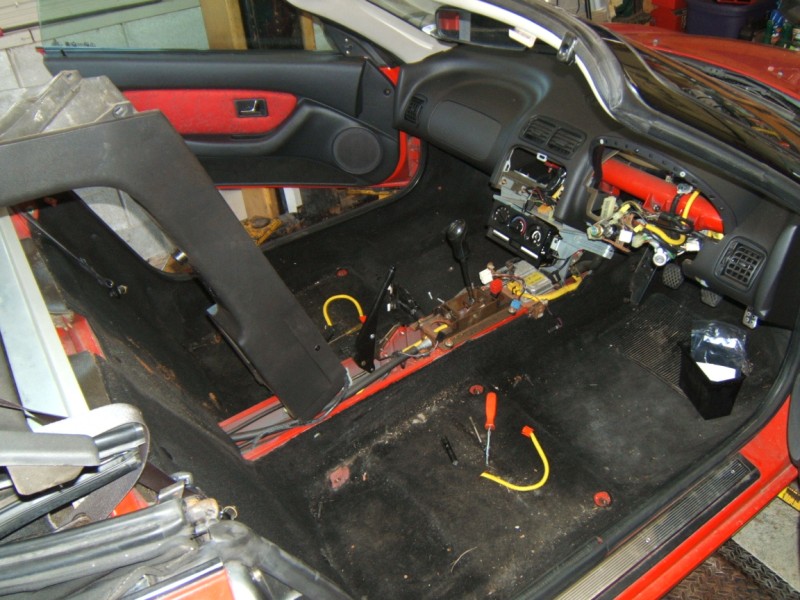
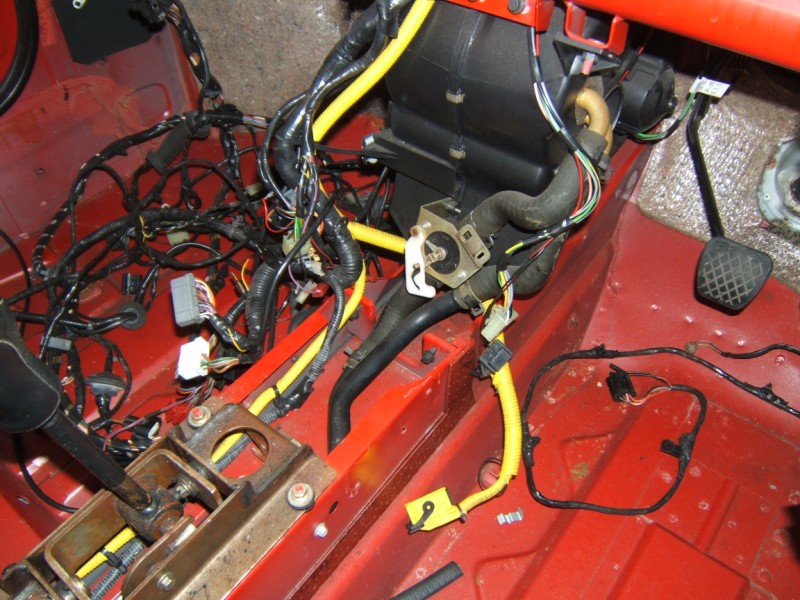
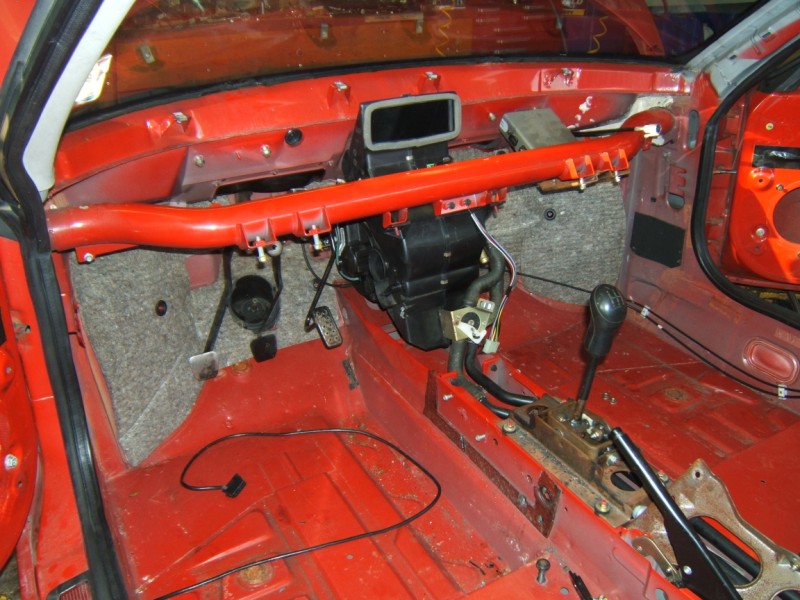
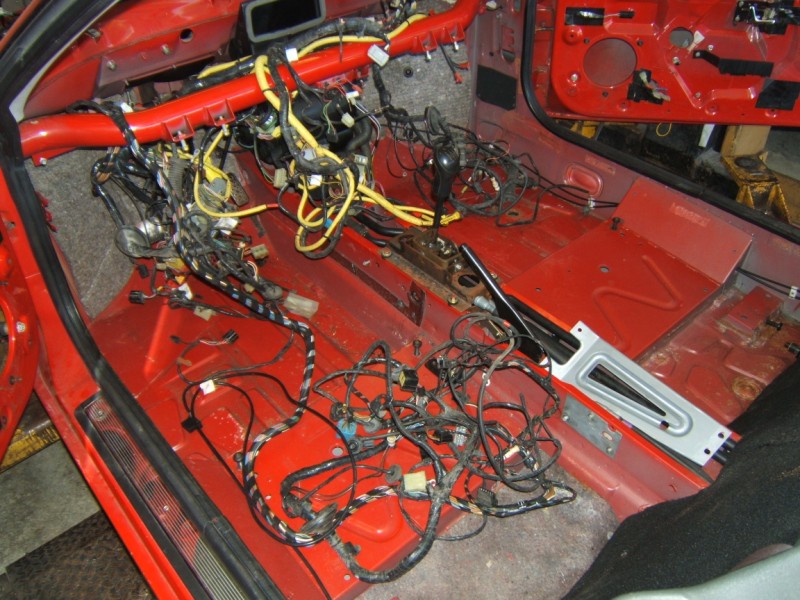
With everything disconnected and fed into the cabin, the harness is ready to remove. |
 |
Next comes the heater assembly. No cracks detected in the brace bracket or broken mounting studs on this car. |
 |
We shall tackle the pedal assembly next. |
 |
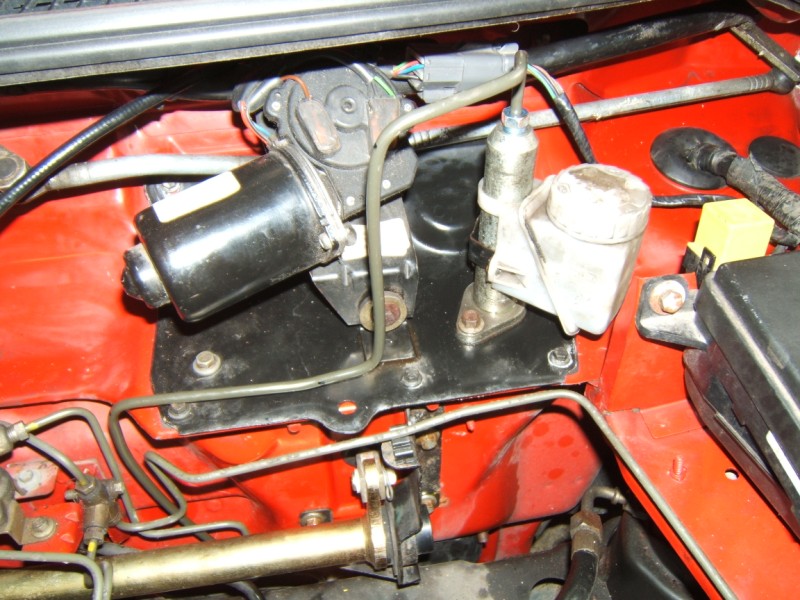
In order to remove the pedal box upper support, the wiper linkage & clutch master cylinder need to come out. The plate itself is moved to the other side. |
 |
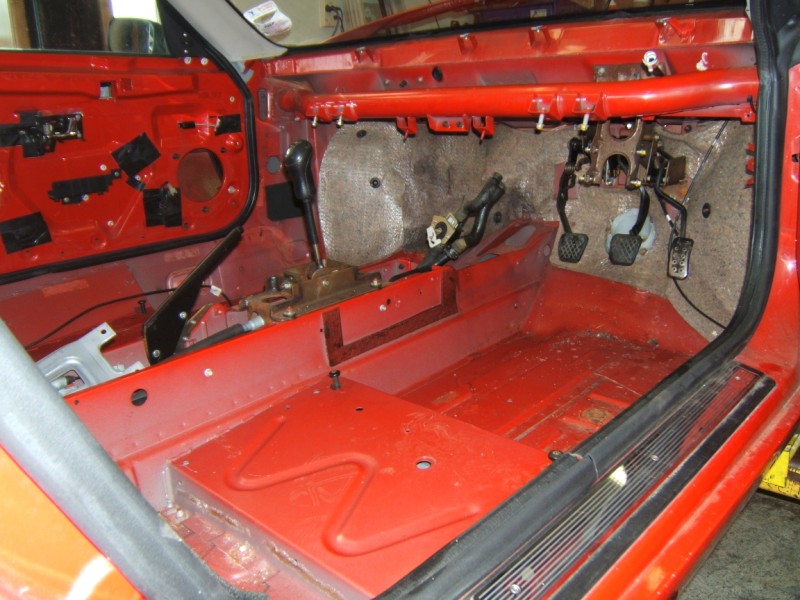
Almost done on the inside! |
 |
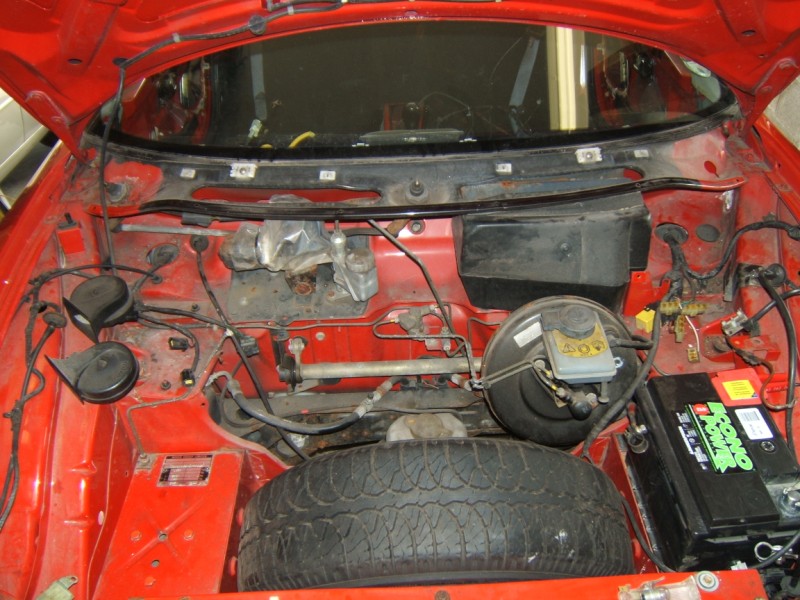
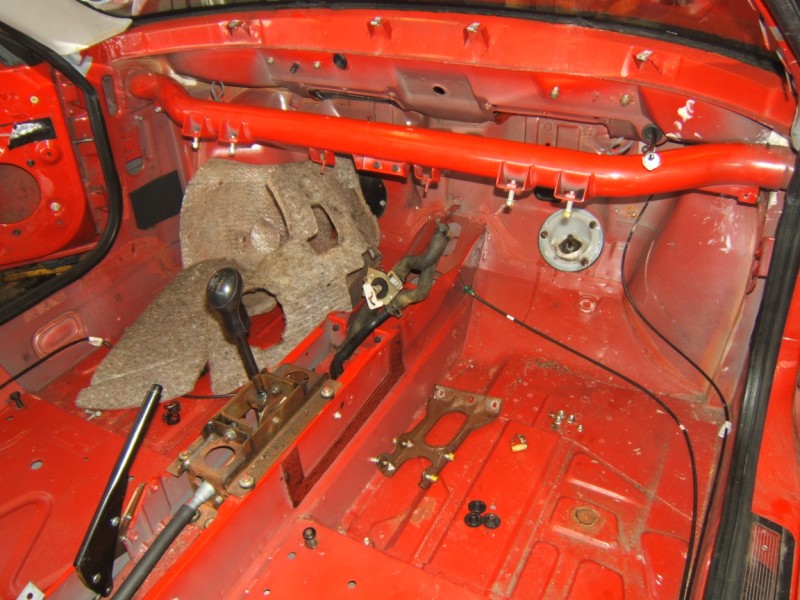
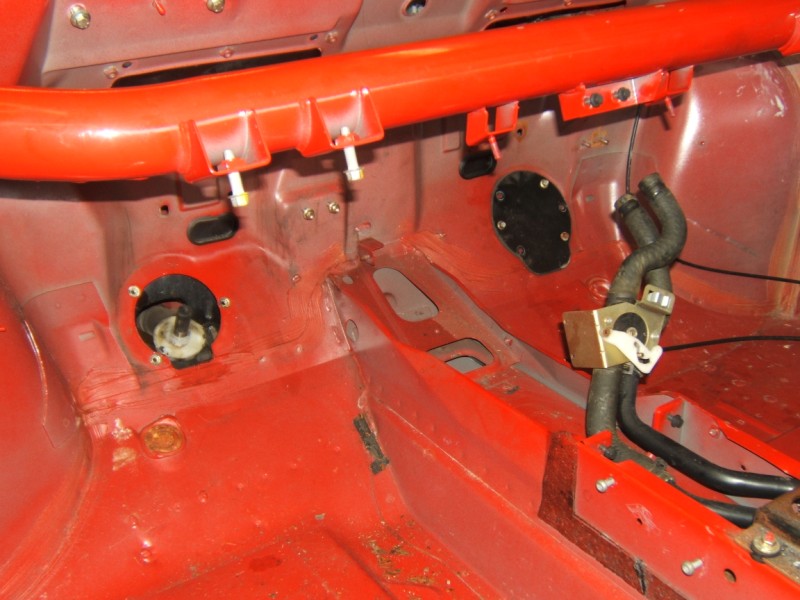
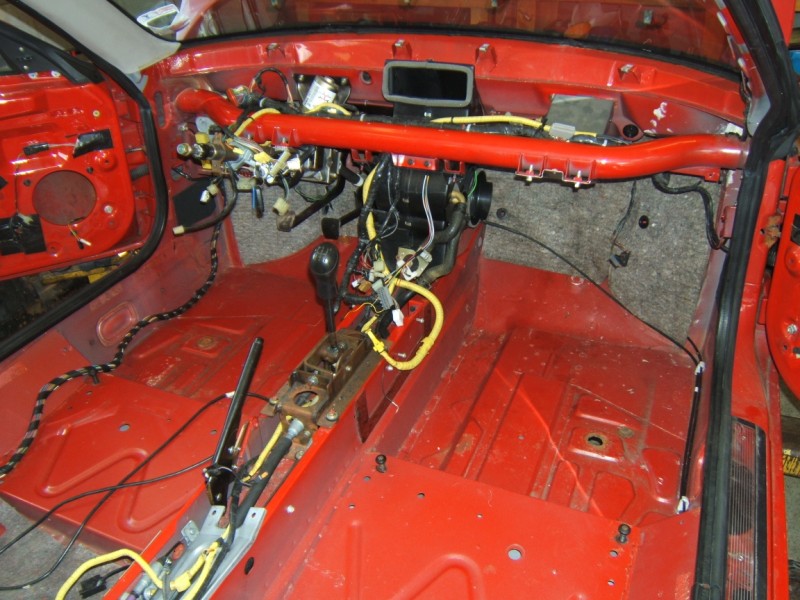
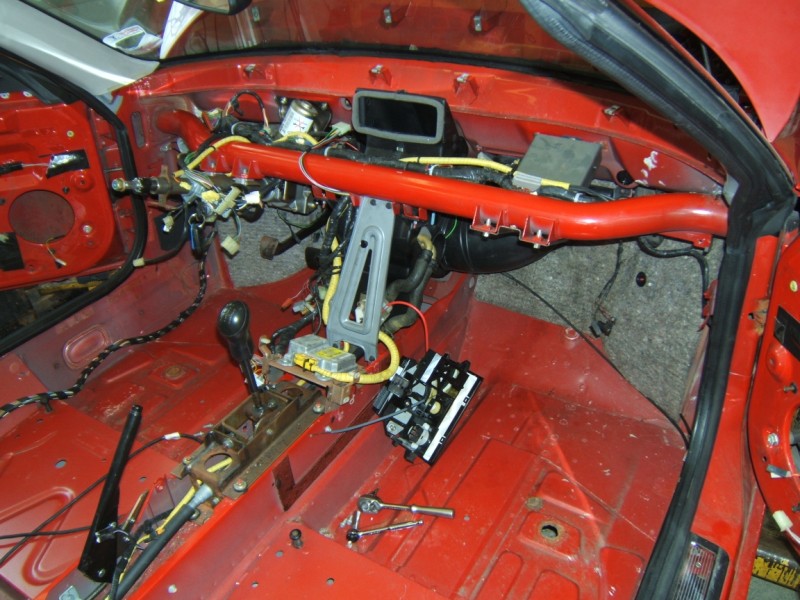
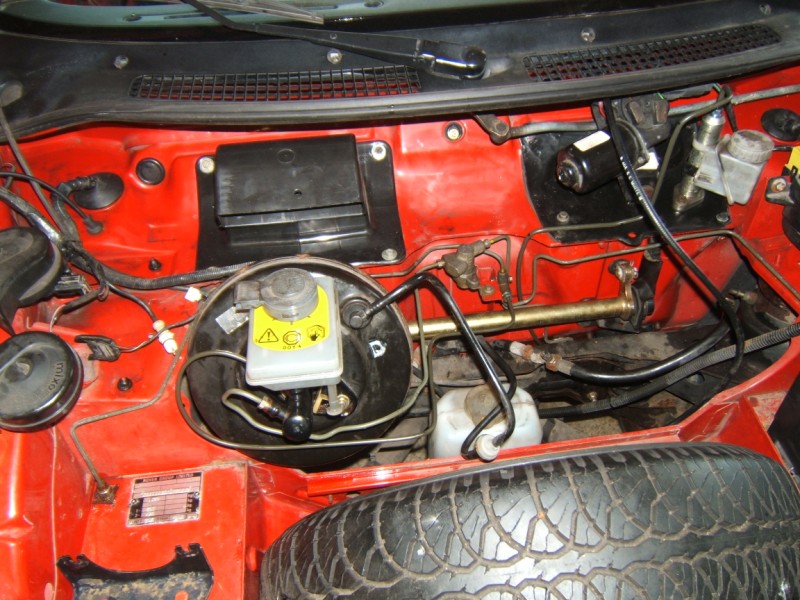
Next the brake booster needs to be removed so the cross tube brackets can be replaced. |
 |
With the pedal box & brake booster out we are ready to tackle the cross tube assembly. It was necessary to destroy the fresh air box to remove it so it will be replaced with the later style. |
 |
Ready to turn the corner! We discovered that the studs on the drivers side cover plate are removable from the rivnuts so they will be transferred to the LH side. |
 |
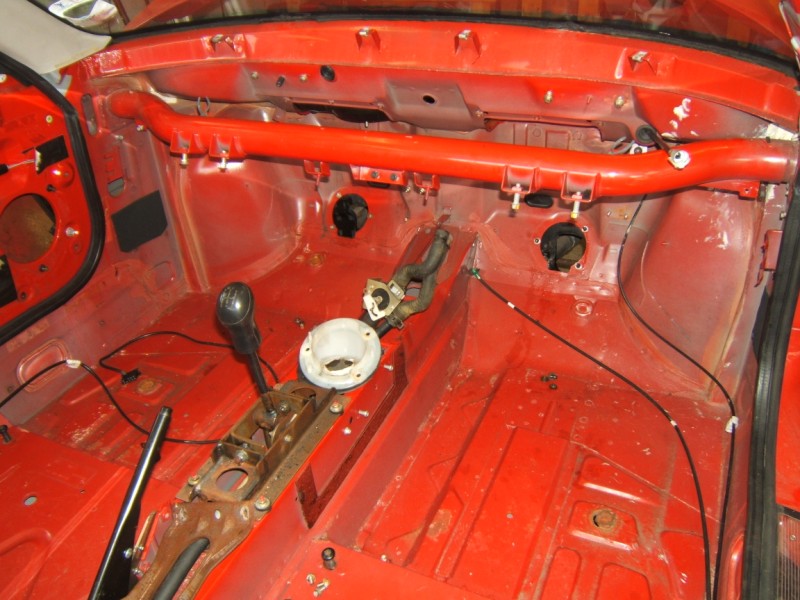
With the steering rack installed, the blanking cover has been moved to the RH side. |
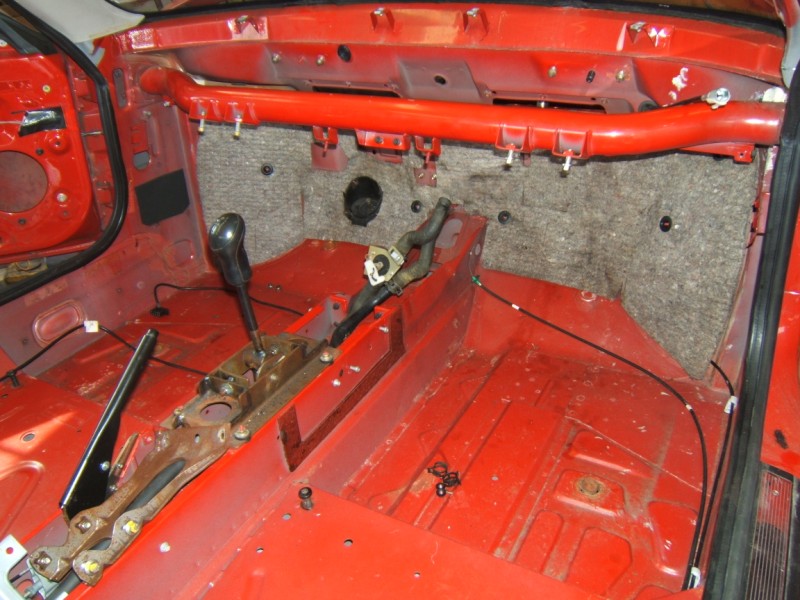 |
The sound padding was in good condition so we flipped it around and installed the black, LHD cover plate. |
 |
The recycler sent us a nice shiny tube with the LHD brackets so we replaced the whole assembly. |
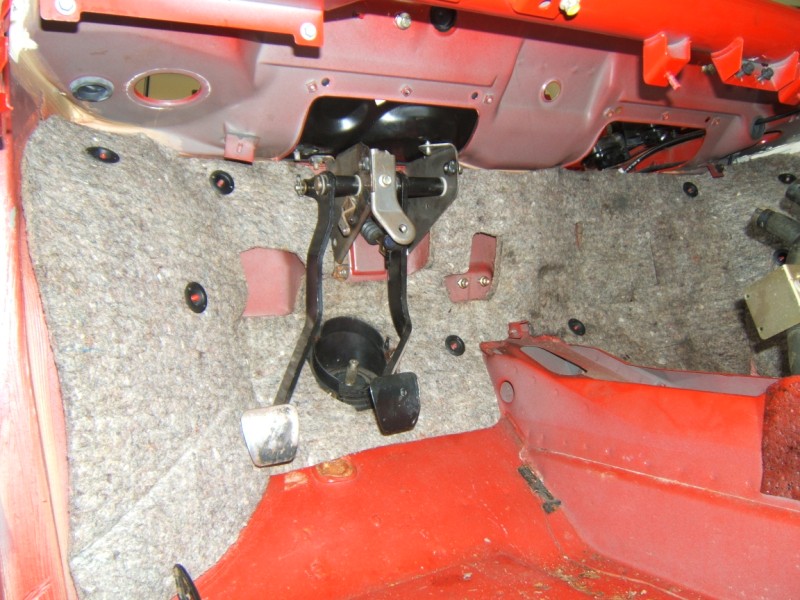 |
Installing the pedal box assembly. This one is equipped with the later style brake light switch so we shall modify the harness with the proper connector. |
 |
Installing the accelerator cable is made much easier when removed from pedal box assembly. |
 |
Next we installed the heater box assembly. A NOS LHD unit with a damaged casing was used to fully recondition the one removed from the car. |
 |
Now for the wiring harness. We like to lay it out approximately first. |
 |
Routing it over the cross tube is the first step. |
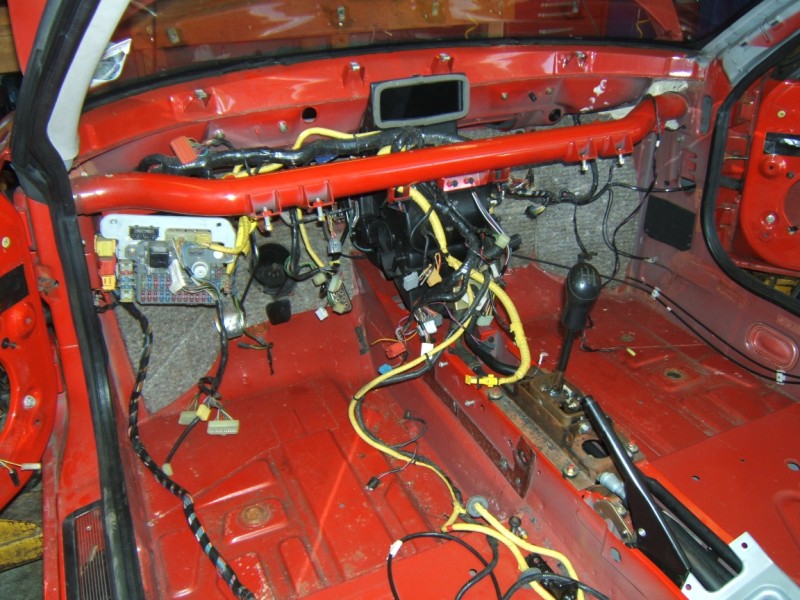 |
Followed by the left front, right front & rear portions. |
 |
The steering column and EPAS control are next. |
 |
The SRS module, heater box brace and heater controls can go in next. |
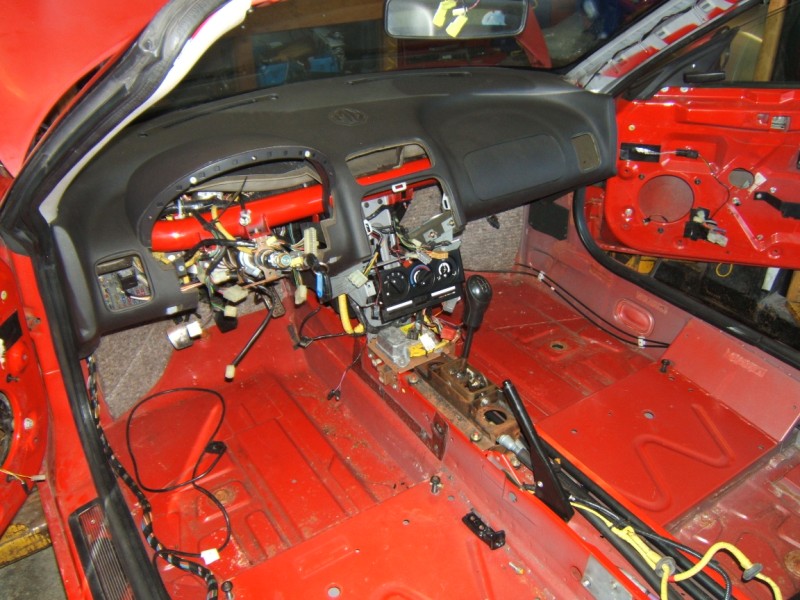 |
And then a big step! The fascia. |
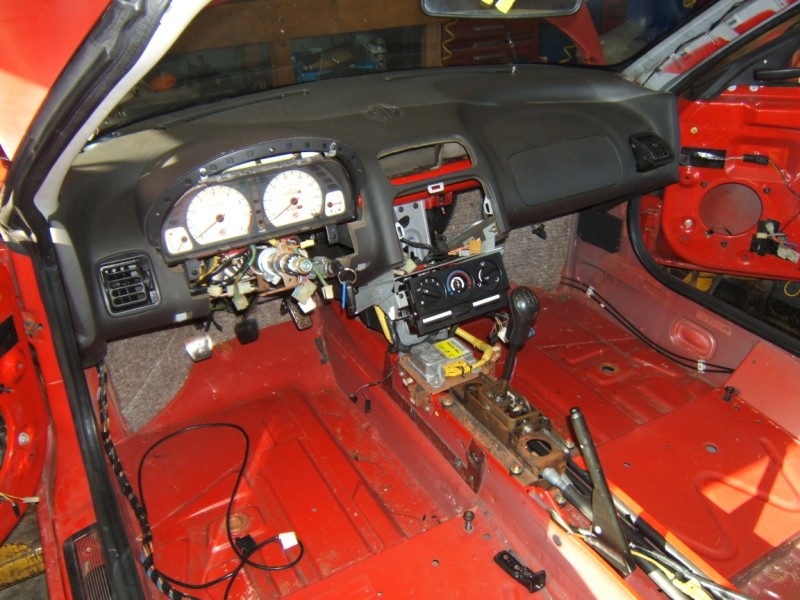 |
Followed by the instrument pack. |
 |
And then the column switches. |
 |
Moving to the front compartment, we installed the later style air intake for better cowl sealing and easier servicing of the wiper mechanism. |
 |
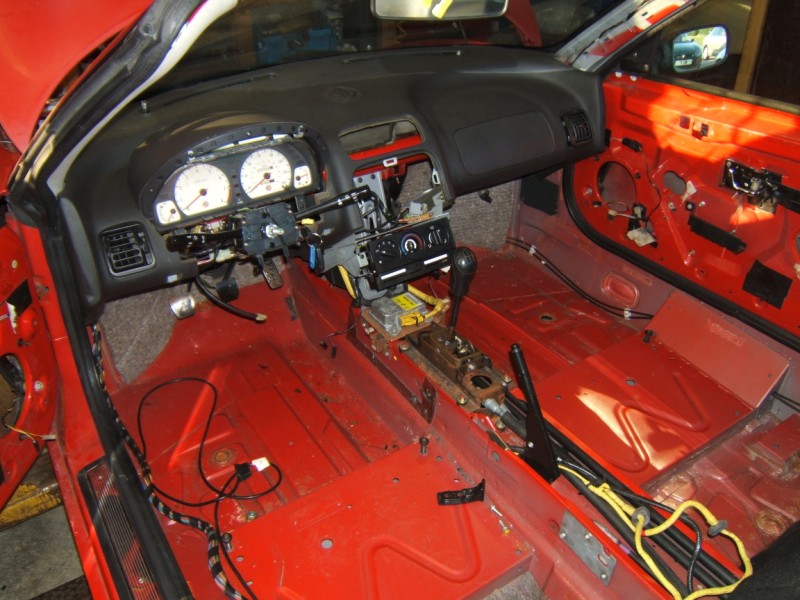
Back inside the rotary coupler and instrument bezel are installed. We need a blanking plate for the mirror switch hole unless we add electric adjust mirrors. |
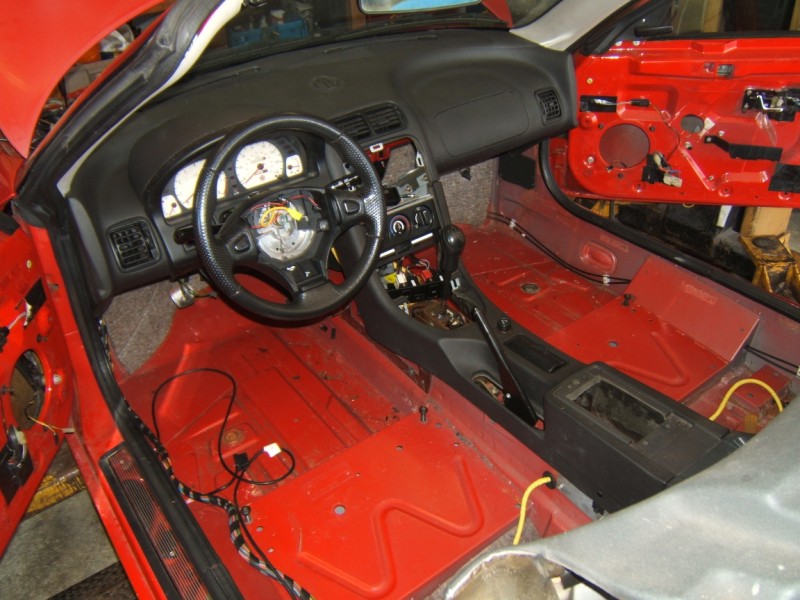 |
Next, comes the centre console and steering wheel. |
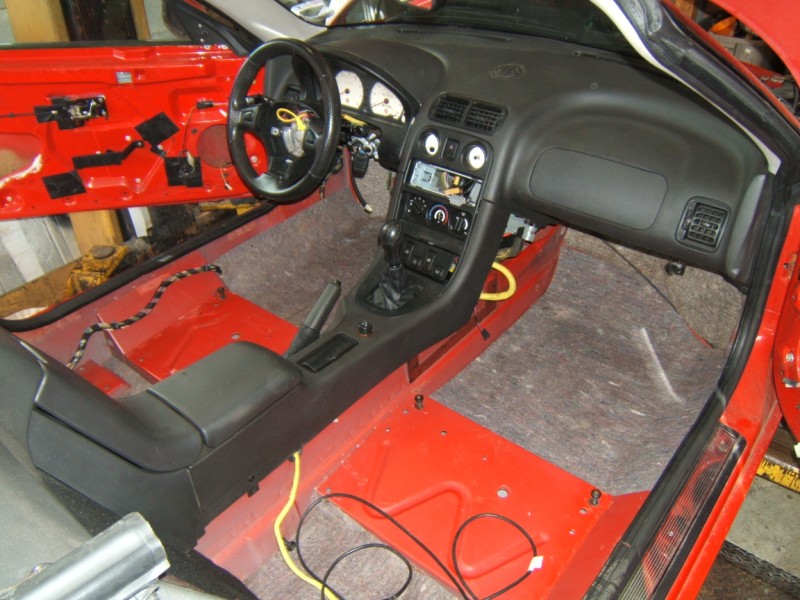 |
The carpet underlay is back in along with the console switch bezel. |
 |
We replaced the natty handbrake gauntlet & shifter boots as well. |
 |
New carpets freshen up the interior although they are not an essential LHD part, especially if a/c were fitted & the right side heel pad removed.. |
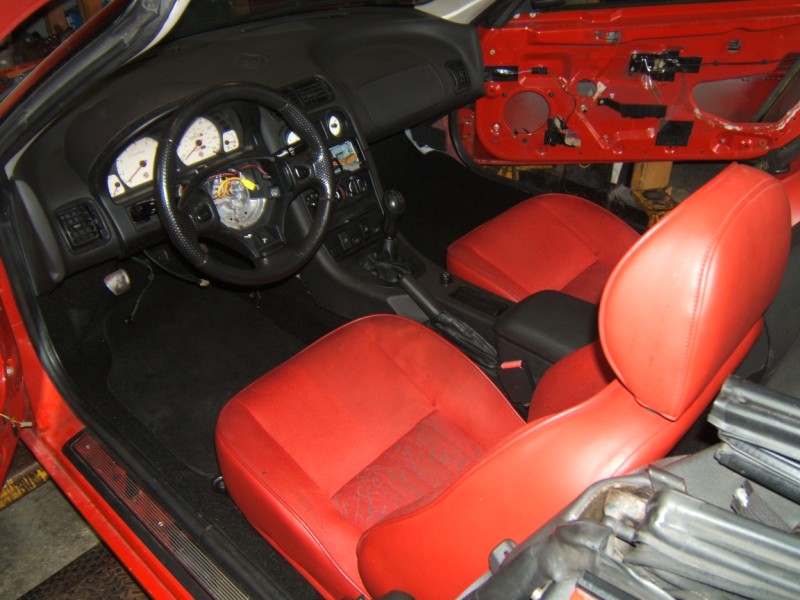 |
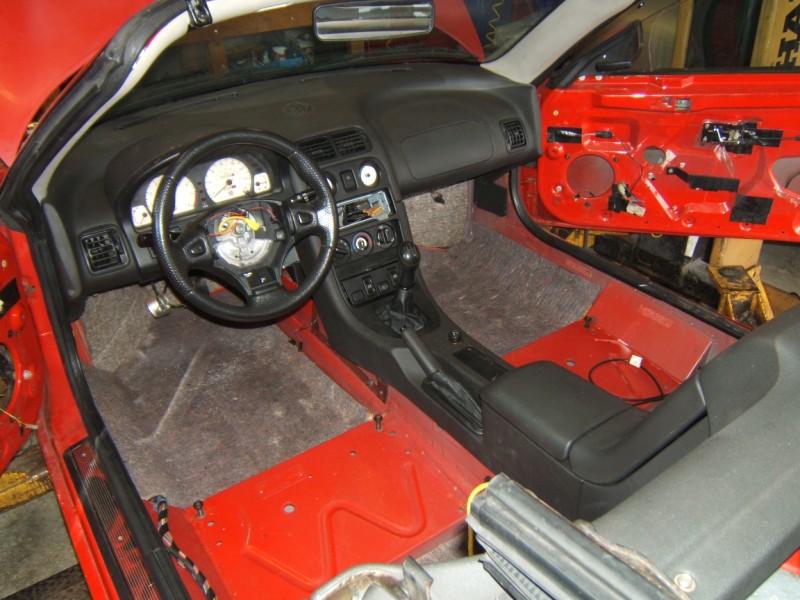
With the seats in we are nearing completion of the interior. |
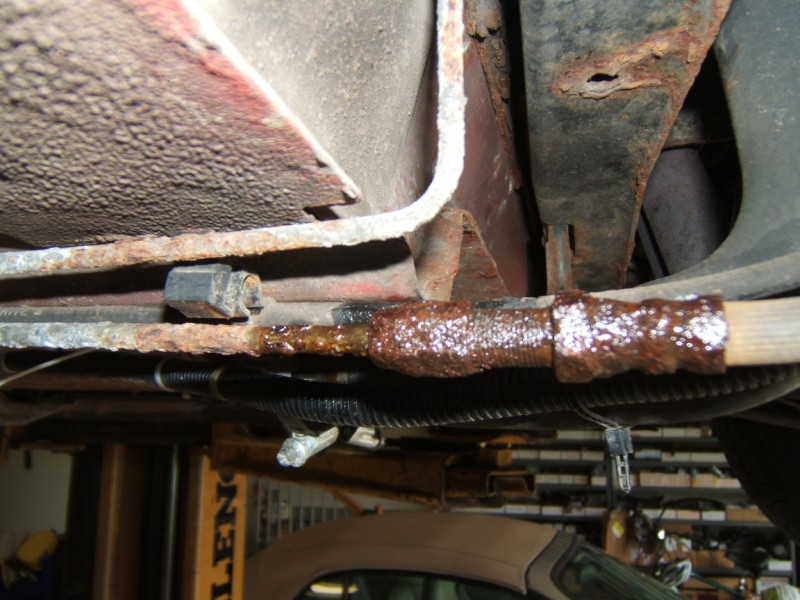 |
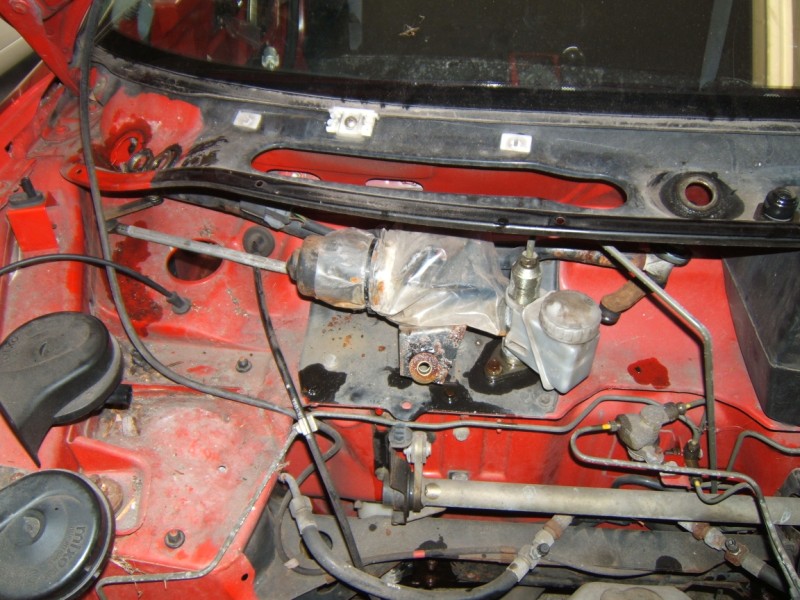
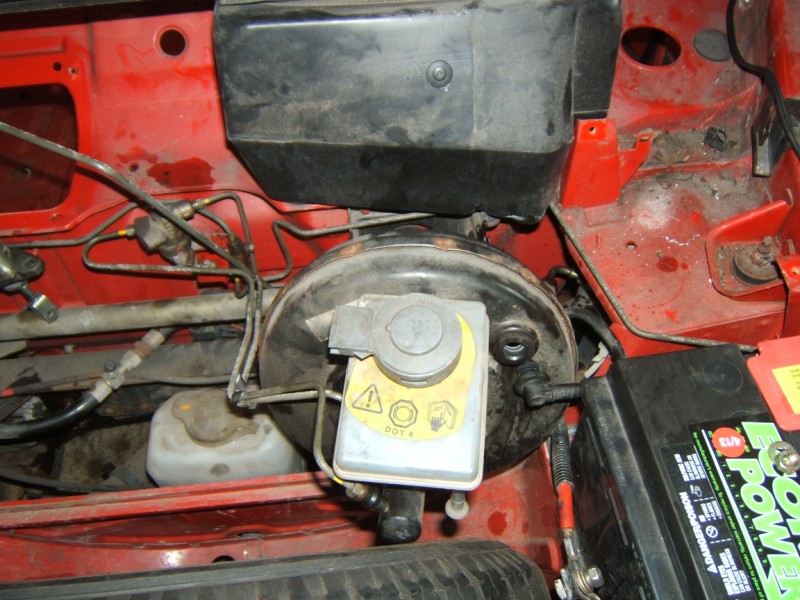
Turning our attention to the clutch line, this is typical of the horror show one will encounter on an 18 year old car. It actually was not leaking, the wetness was from penetrating oil. Even our favourite, BG's In Force could not save this line! |
 |
Thus the entire line was replaced from master to slave cylinder. Here we replicated as close as possible the factory bends allowing removal of the wiper mechanism if necessary without disturbing the clutch hydraulics. |
 |
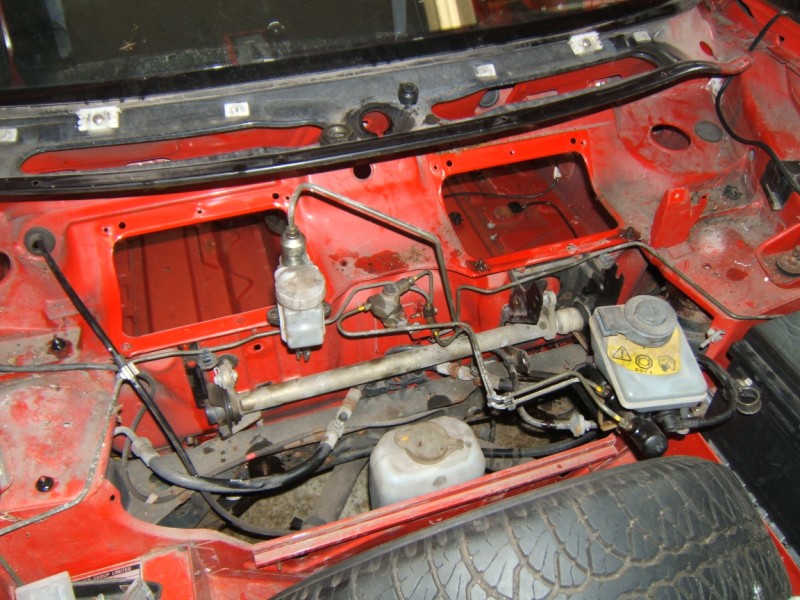
Although this photo shows the ABS unit in place, we are still having technical issues with our flaring tool as well as needing to source another set of ABS hubs thus... |
 |
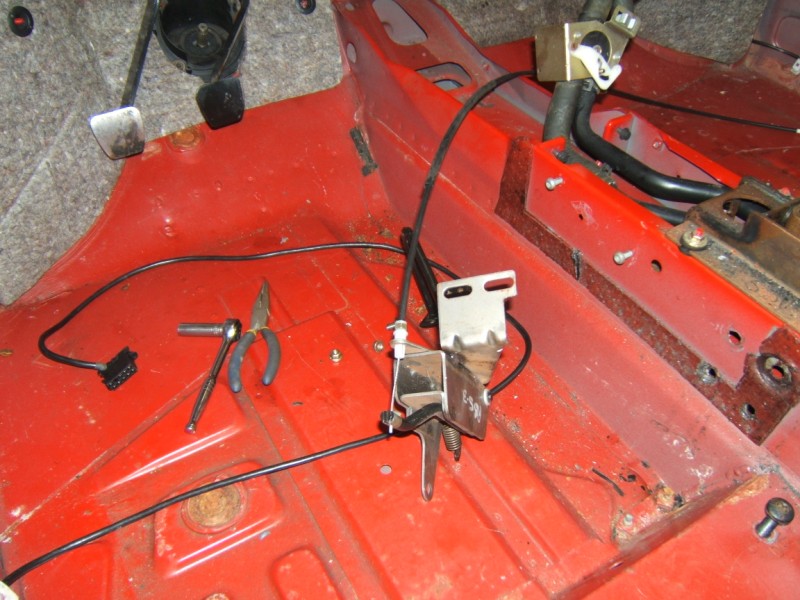
We decided to make up an interim set of non ABS, LHD lines in order to get the car operational (and avoid tying up the lift any longer). |
|
|
The biggest long term challenge to this project will be sourcing components as there are a finite number of LHD MGF's in scrapyards (as it should be, we hate to see a car scrapped). Thus, if demand for the car proves sufficient in Canada we will resource the necessary components to perform this conversion. Such an undertaking will require volume, however. Even a die to stamp a simple bracket costs hundreds of Dollars.
|